How to Enable IMAP in Google Workspace: Step By Step Guide


Having trouble syncing Google Workspace email with other mail clients? Enable IMAP in Google Workspace to fix the issue!
Recently, I needed to access my Google Workspace emails in Outlook but wasn’t sure how to do so. After some research and going through multiple Microsoft blogs and forums, I discovered that turning on IMAP in Google Workspace will work. After following the right instructions, I was finally able to sync and access my emails in Outlook and other mail clients.
If you’re facing a similar issue, then I will explain to you how to enable IMAP in G Suite at both the admin and user levels in minutes.
Before starting this journey, my first question is, do you know what an IMAP setting is? If not, then don’t worry. Let’s understand!
What is an IMAP Setting in Google Workspace?
Internet Message Access Protocol (IMAP) is an email protocol that helps you to access, edit, or delete the same data from multiple devices or mail clients. This means any action you take, such as reading, deleting, or managing emails, is reflected across all the synced devices.
When we enable IMAP in Google Workspace, it allows you to sync Gmail with other email applications like Outlook, Apple Mail, or Thunderbird in real-time.
Let’s take a real-life example to understand it clearly:
Imagine you accessed or deleted some Gmail emails at work using Outlook using your office computer, then later at home on your smartphone’s Mail app.
Sounds good! This can only be possible when your IMAP setting is enabled in G Suite. Next, we will explore how to enable IMAP in G Suite.
How to Enable IMAP in Google Workspace?
After a thorough research, I found that there is no step-by-step article available that explains how to turn on IMAP in Google Workspace. Therefore, I divided the steps into three sections for easy understanding. So, let’s explore:
Step 1: Allow IMAP Access in the Google Admin Console (GAC)
As a Google Workspace administrator, you need to ensure that IMAP access is permitted for your users. Here are the steps to do so:
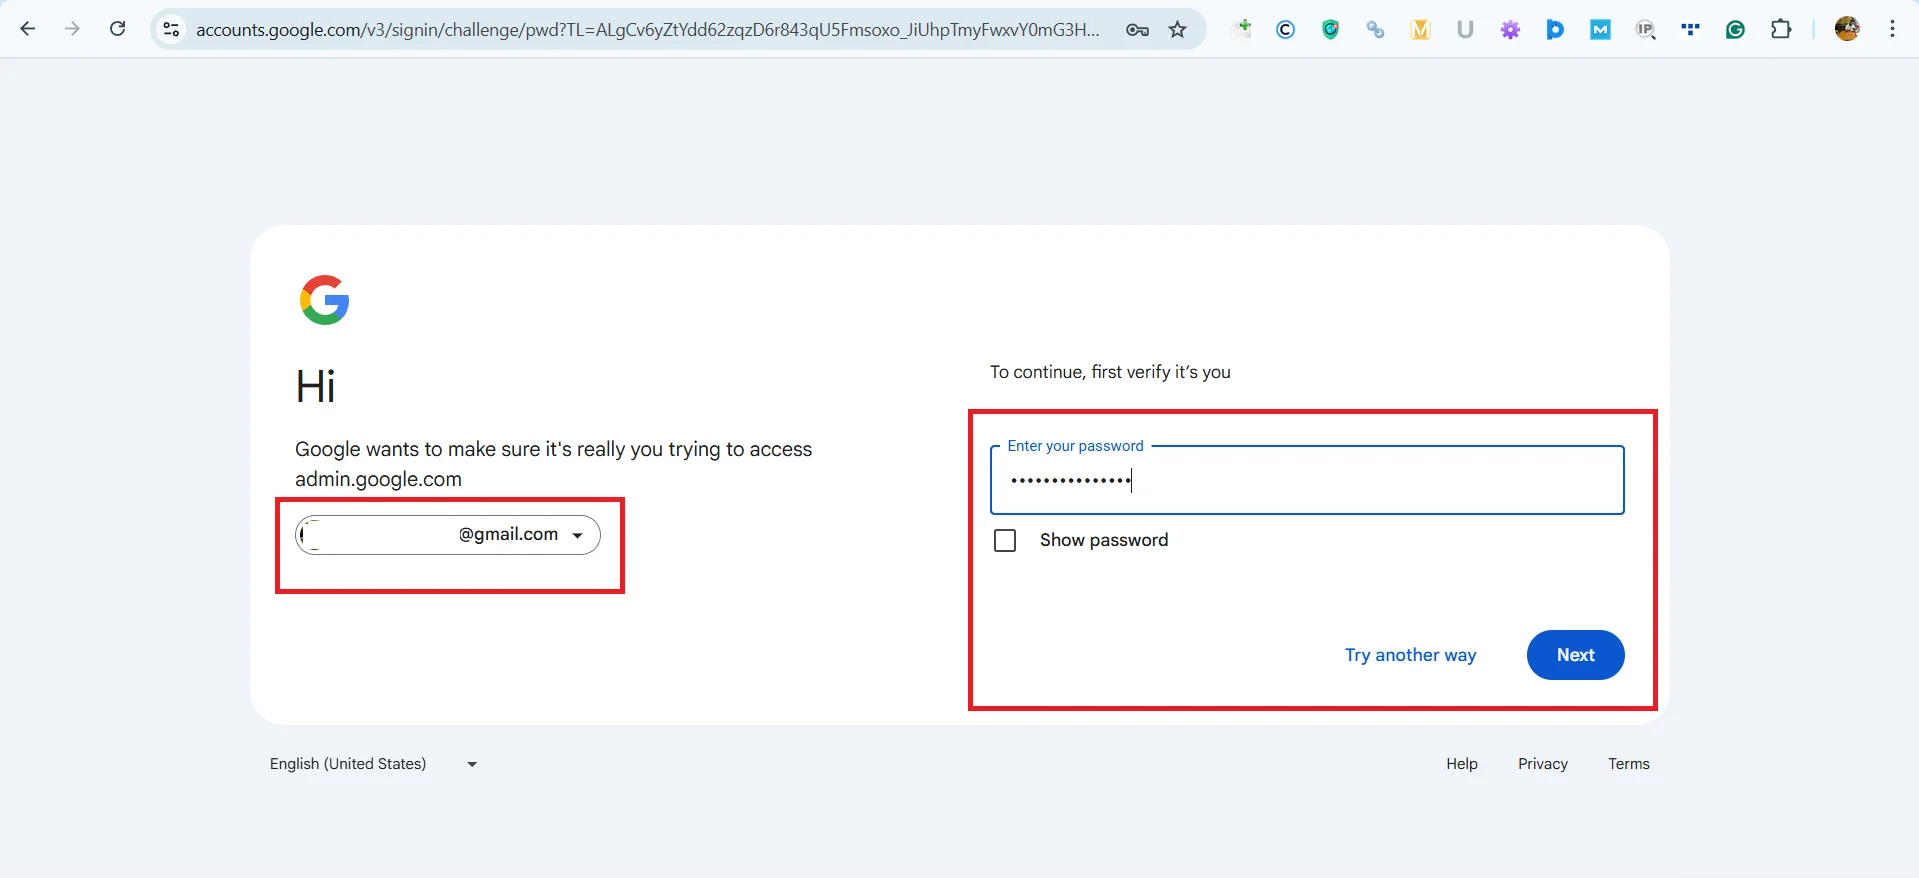
- Search https://admin.google.com on your preferred browser, and sign in with your administrator credentials.
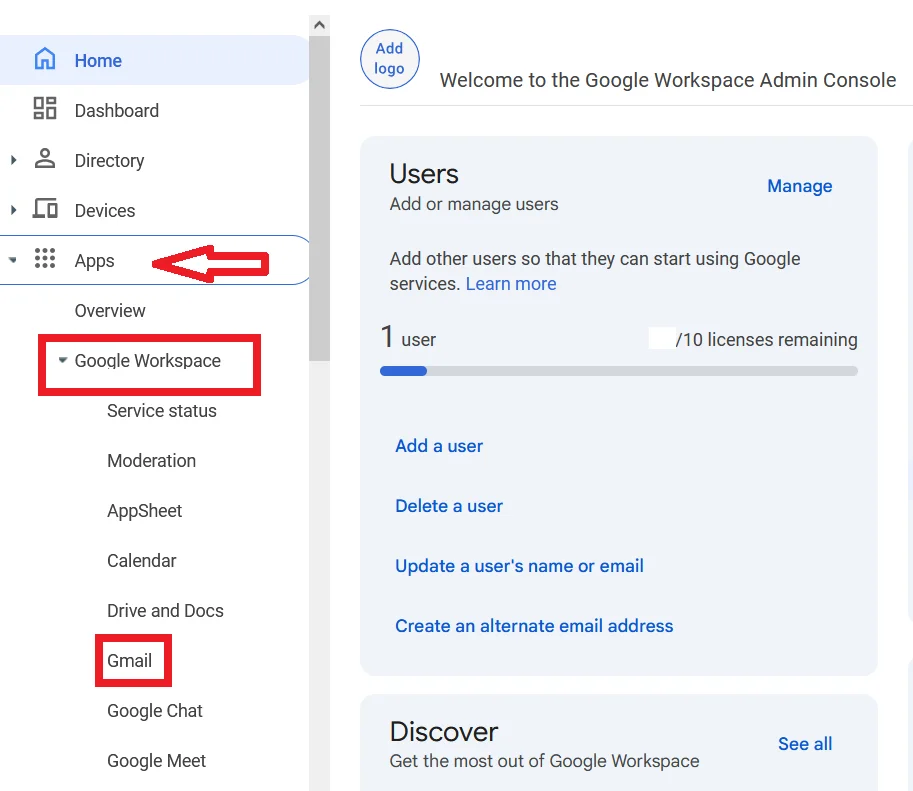
- Hit Apps option > Google Workspace > Gmail
- Now, click on User settings
- If you’re applying this to specific users for security reasons, select the appropriate organizational unit (OU) on the left panel. Create an OU (e.g., Company Users), move selected users into it, and apply custom IMAP settings for that group instead of enabling it for everyone.
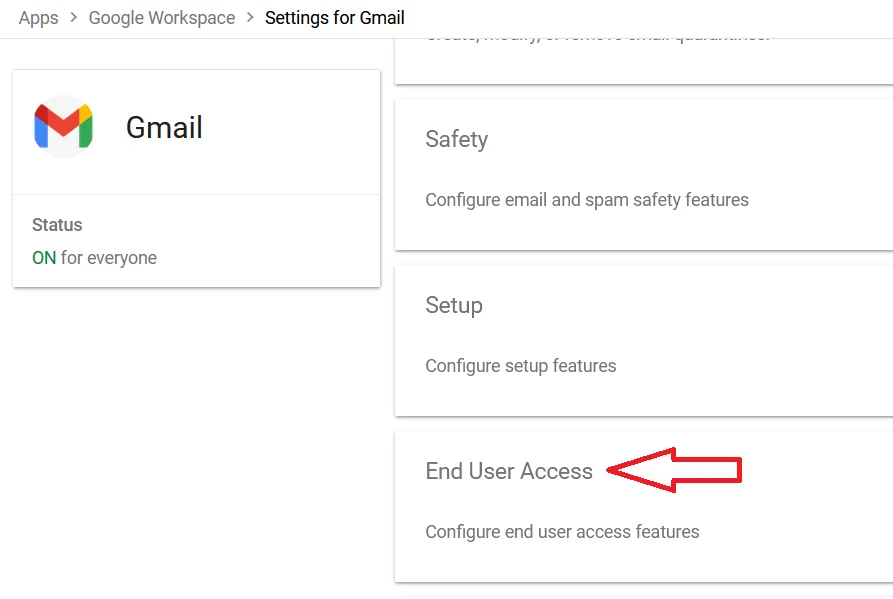
- Scroll to the “End User Access” section
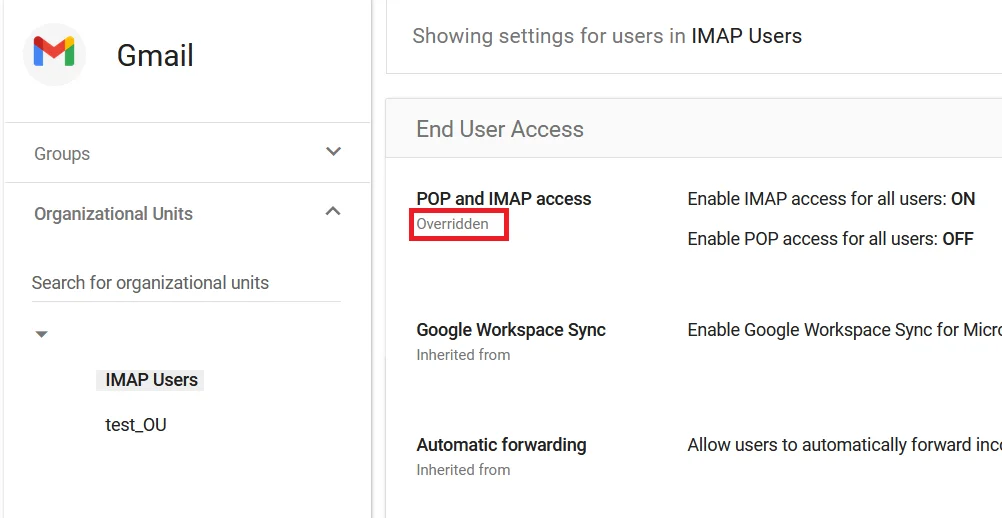
- After clicking the End User Access page new window opens where different settings are available. Check if enable IMAP in Google Workspace access for all users is set to On. If not, then click on the pencil(edit) icon on the right side to change the settings.
Changes can take up to 24 hours to propagate across users.
Step 2: Instruct Users to Enable IMAP in Gmail Settings (User-Level Instructions)
After the admin enables IMAP, users must also activate it within their own Gmail settings to get the expected results. For the same, follow the instructions:
- Log in to Gmail at https://mail.google.com
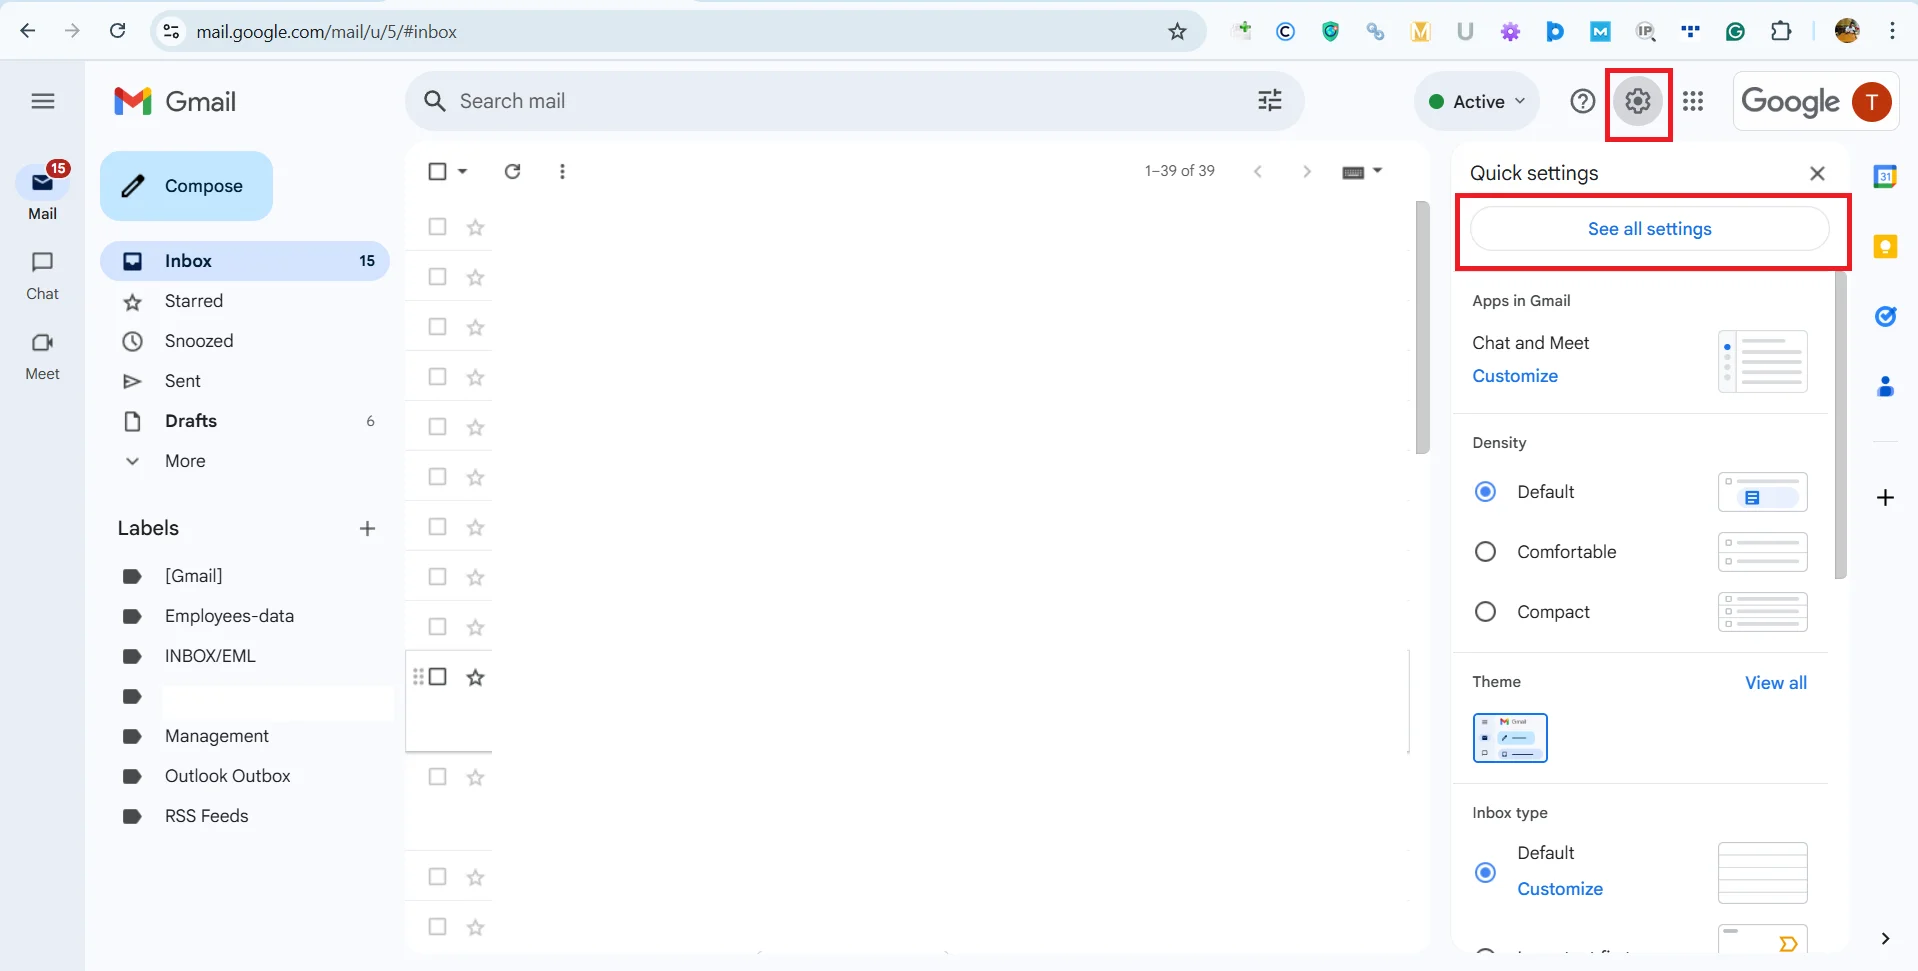
- Click the gear icon in the top-right and select the See all settings option
- Then click on the “Forwarding and POP/IMAP” tab
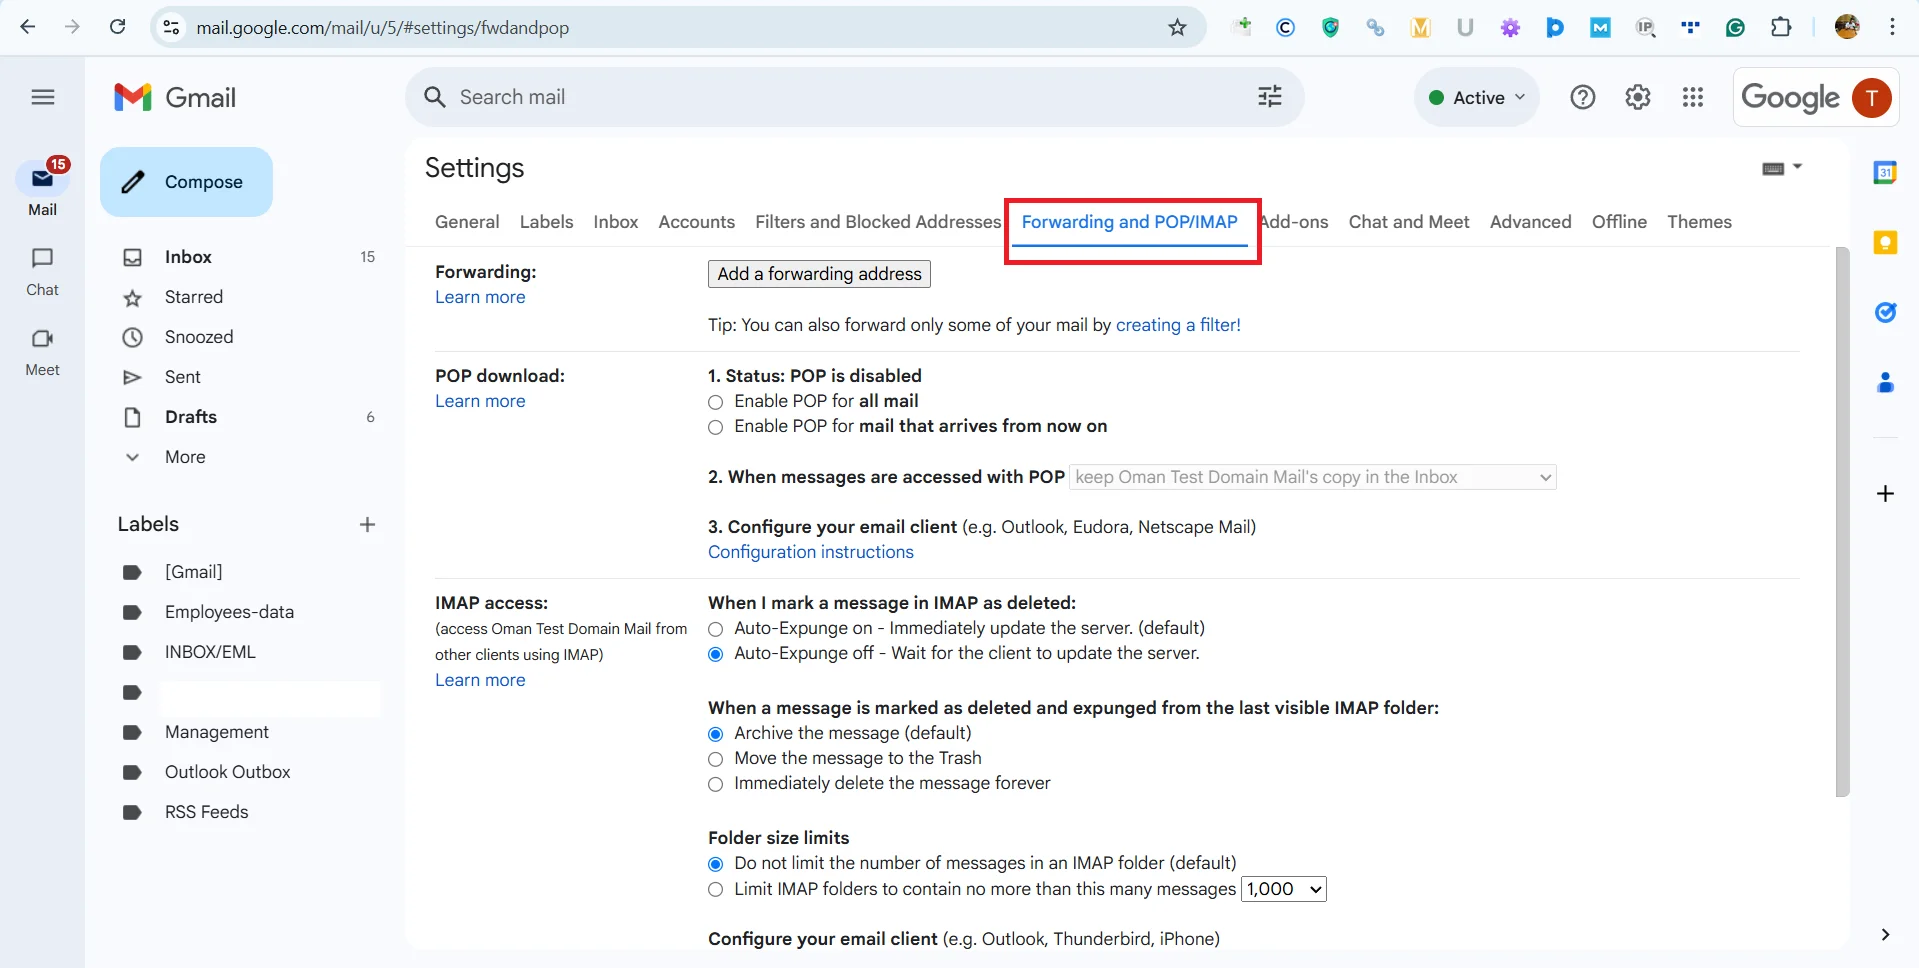
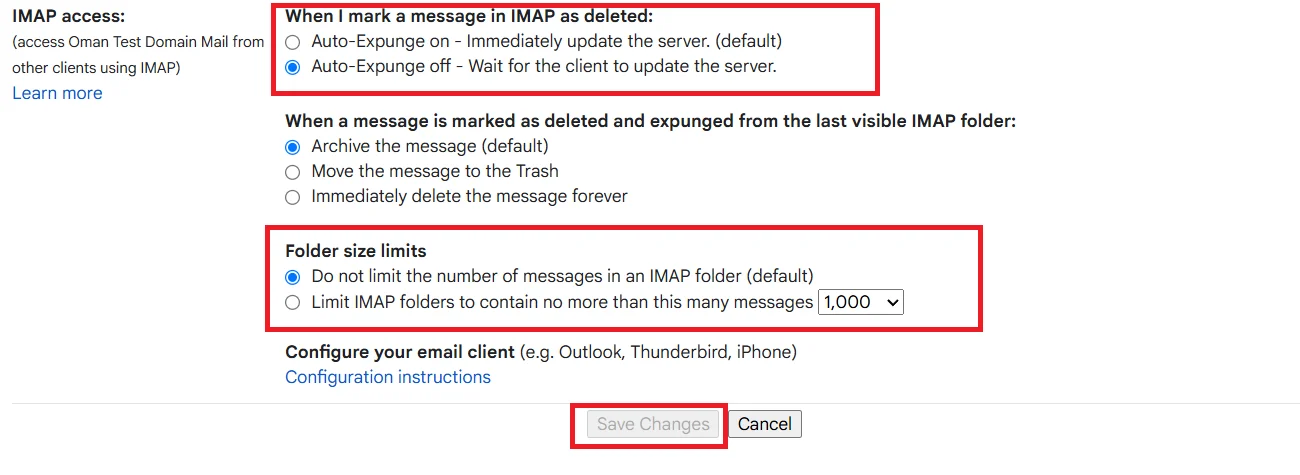
- In the IMAP access section:
- Select Enable IMAP
- Optionally, configure IMAP folder limits and auto-expunge options
- Click Save Changes at the bottom of the page.
Step 3: Configure Your Email Client
After you enable IMAP in Google Workspace, users can configure their third-party email client. Below are the standard Gmail IMAP settings:
Incoming Mail (IMAP) Server:
- Server: imap.gmail.com
- Port: 993
- Requires SSL: Yes
Outgoing Mail (SMTP) Server:
- Server: smtp.gmail.com
- Port: 465 or 587
- Requires SSL: Yes
- Requires Authentication: Yes
Login:
- Email address: Your full Gmail address (e.g., companyname@yourdomain.com)
- Password: Your Gmail password or App Password
Important: If your organization used 2-Step Verification, users must login with App Password instead of their normal password for IMAP clients.
Security Considerations
When enabling IMAP, it’s essential to maintain security. Here’s how:
- Use OAuth 2.0 authentication where possible.
- Disable IMAP for users who don’t need it.
- Monitor login activity for unusual access patterns.
Also Read: How to Import MBOX to Google Workspace?
Final Thoughts
Enabling IMAP in Google Workspace is a straightforward process that requires both admin-level and user-level changes. In the above discussion, we explored how to enable IMAP in Google Workspace step by step.
Now that you have a clear understanding of the process, don’t wait; go ahead and enable IMAP in G Suite today!